
Passkey Passwordless Login is the future of secure authentication for your WordPress and WooCommerce websites. Unlike traditional logins that require a username and password, Passkey login lets users sign in using biometric verification (like fingerprint) or a device PIN — without needing to remember or type a password.
Key Features of the Passwordless Login WordPress WooCommerce
Passkey login for WordPress empowers users to authenticate with the device of their choice—making login more secure, personal, and convenient. If you’re building a modern, secure, and user-friendly WordPress or WooCommerce site, passkey authentication is a must-have feature.
- Passwordless Authentication
- Enhanced Security
- Faster Checkout in WooCommerce
- No More Password Resets
How to Install the Passwordless Login WordPress WooCommerce
Follow these simple steps to install and activate the plugin:
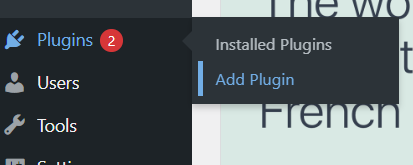
Go to Plugins → Add New from the WordPress dashboard.
Click the Upload Plugin tab.

Upload the Passwordless Login WordPress WooCommerce Plugin.

Click Install Now, then select Activate once the installation is complete.

Upon activation, the status will switch from “Activate” to “Deactivate.”
Passwordless Login WordPress WooCommerce Overview
Go to Users → List of users will be display.
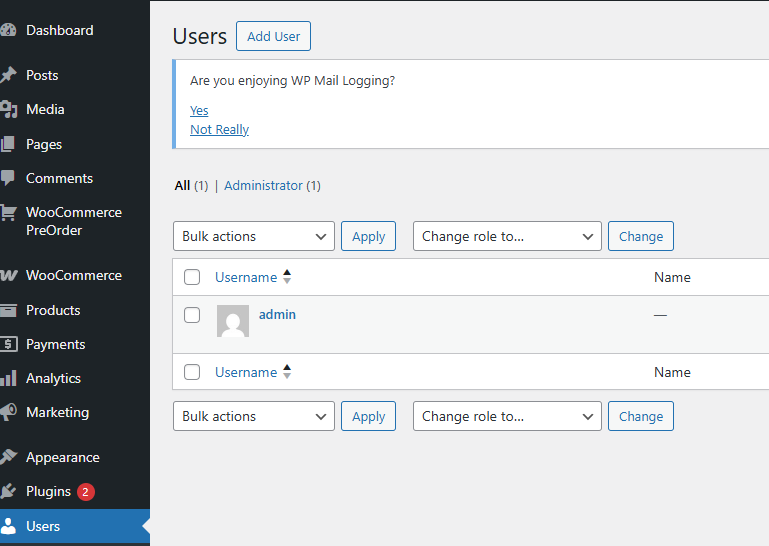
Now click on ‘Edit’ to modify the admin user.

Once the admin profile opens, scroll down to see the Passkey Authentication option.

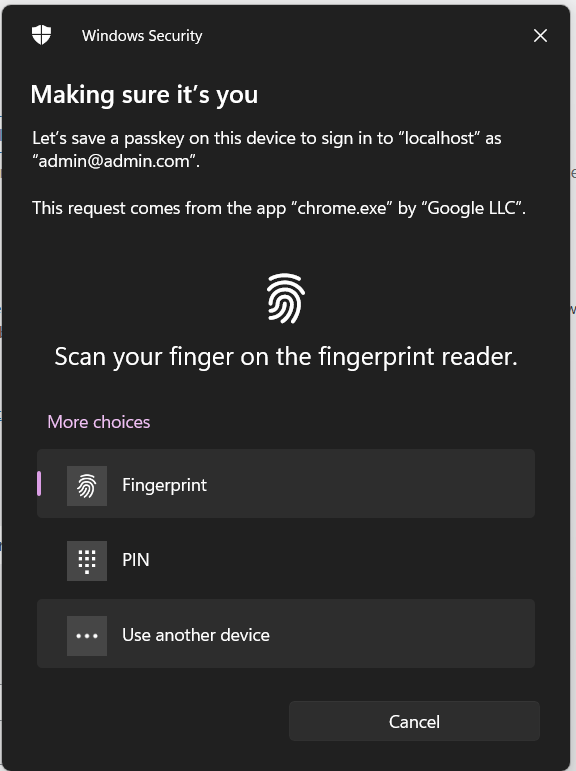
Click on ‘Add New Passkey’ and the pop-up will open, as shown in the image below. Which shows a Windows Security biometric prompt for saving a passkey
How Passwordless Login WordPress WooCommerce Login Works
In the image above, you can see a real-life prompt from Windows Security asking to save a passkey using a fingerprint, PIN, or another device. This is the power of passwordless login using passkeys — and you can bring this same seamless experience to your WordPress or WooCommerce site.
Passwordless Login WordPress WooCommerce Login using Fingerprint
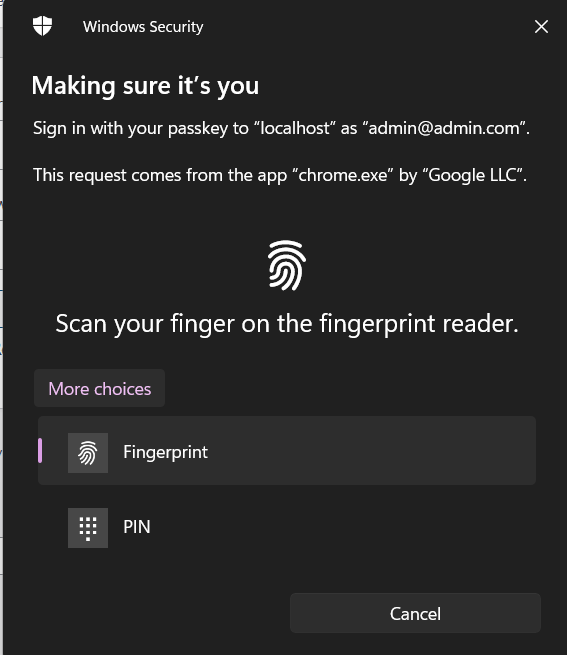
Select the fingerprint option and scan your finger using your system or laptop’s fingerprint reader. After the scan, a confirmation pop-up will appear, as shown in the image below.

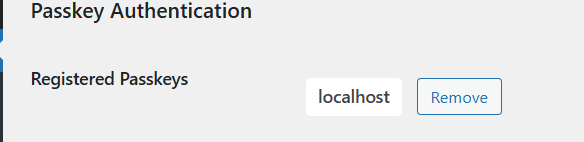
Now click the OK button. After clicking, the fingerprint will be saved, and the tag name ‘Add New Passkey‘ will change to ‘Remove‘.
Now log out the user from the logged-in profile.
Navigate to the login panel, then click ‘Login with Passkey‘.
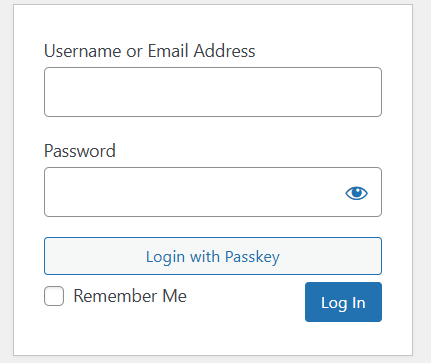
After clicking on ‘Login with Passkey’, a pop-up will appear as shown in the image below. Next, select the fingerprint option and scan your finger using your system or laptop’s fingerprint reader for secure authentication. Then the user will be loged in using fingerprint.
Passwordless Login using Pin
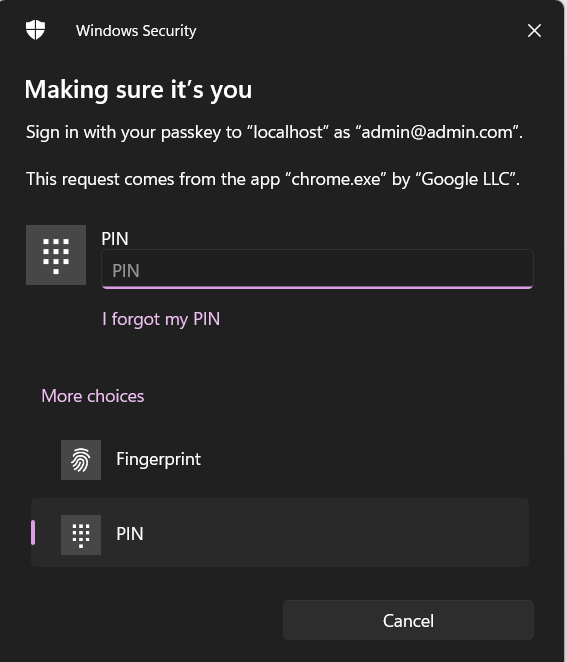
Select the PIN option, and a pop-up will appear prompting you to enter your PIN for secure login.
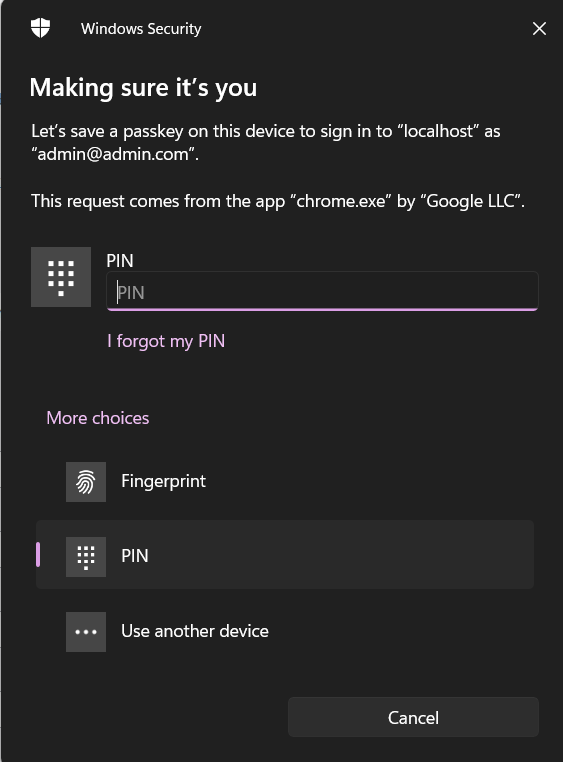
After entering your PIN, a pop-up will appear as shown in the image below for verification.
Now click the OK button. After clicking, the fingerprint will be saved, and the tag name ‘Add New Passkey‘ will change to ‘Remove‘ from Register Passkeys.
“Log out from the currently logged-in user profile. Then, navigate to the login panel and click on ‘Login with Passkey’. A pop-up will appear, prompting you to enter your PIN for secure authentication. Once entered, the user will be successfully logged in.”
Passkey Module using Another Device
Select the ‘Use Another Device’ option from the registered passkeys, and a pop-up will appear as shown in the image below. It uses your device or hardware for secure authentication, rather than relying on easily stolen passwords.
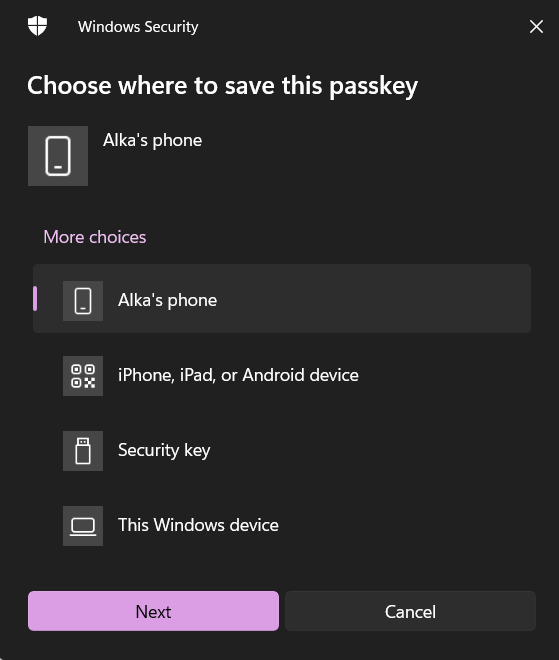
Where the user is asked to choose where to store the passkey. The available options are:
- Alka’s Phone (a mobile device with sync capabilities)
- iPhone, iPad, or Android Device (via QR code pairing)
- Security Key (such as YubiKey or USB hardware)
- This Windows Device (direct local storage)
This confirms how flexible and user-centric passkey login really is—users can pick the device they trust most.
Need help with setup or facing issues? Create a support ticket and our team will assist you shortly.
Why Passkey Storage Options Matter
When you implement passkey login on your site, your visitors or customers will be prompted with options like these. Here’s why it matters:
- User Control: People can choose where their login credential is saved—mobile, USB key, or PC.
- Cross-Device Login: Storing a passkey on a phone enables seamless login across devices (especially important for WooCommerce customers).
- Stronger Security: Each passkey is bound to the chosen device, eliminating phishing risks.\
“I am selecting Alka’s phone from the available options, but you are free to choose any other option that suits your preference Then, click the Next button.”
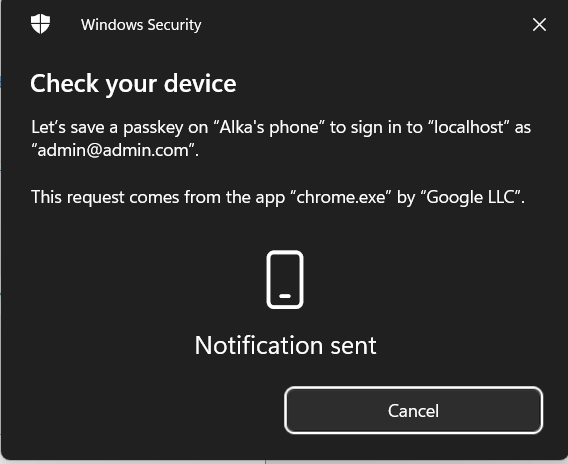
A login notification has been sent to your mobile device. Use your mobile lock (PIN, fingerprint, or face ID) to approve the login. Below is the screenshot of the notification pop-up sent to your device.
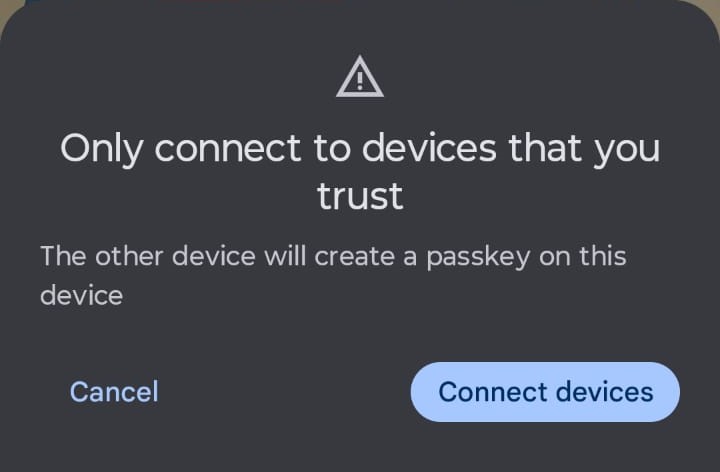
“Now, click on the ‘Connect Devices’ button from your mobile notification. The next pop-up will prompt you to scan your fingerprint or enter your PIN to add the passkey.”
Once completed, the Passkey will be successfully added, just like the process explained earlier in the Passwordless Login flow using PIN or Fingerprint.
Admin workflow video
Checkout Our Other WooCommerce Plugins PreOrder Manager For WooCommerce this module help to engage customers towards your ecommerce store.
Customer work flow
To manage your Passkey, first log in to the customer account, and then navigate to the ‘My Account’ page.

Subsequently, select the ‘Google Passkey’ option from the side menu to proceed to the Passkey Authentication screen.
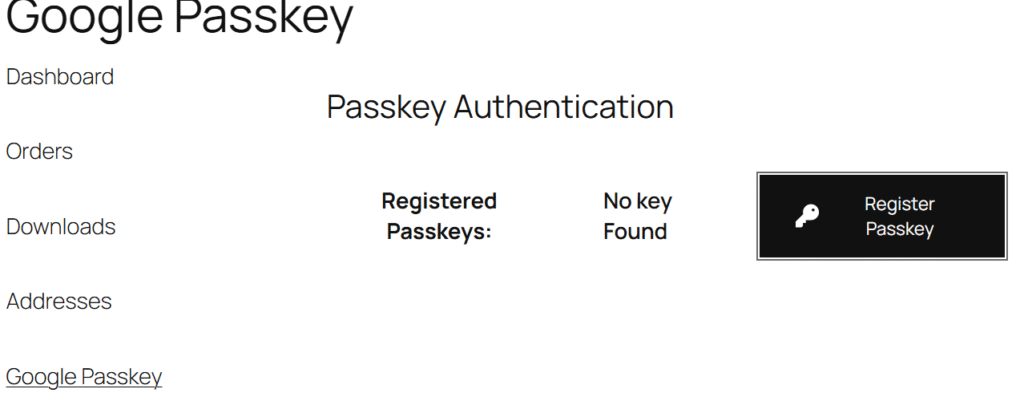
Finally, repeat the same Passkey setup steps for the customer account as performed on the admin side to enable passwordless login.
Customer End work flow video
👉 Looking for more powerful WordPress plugins? Check out our store for more WooCommerce solutions and tools to grow your online business.
💡 Need a custom plugin tailored to your business? Contact us for expert WordPress plugin development.